
The box is about 15" or 16" square, and it's your normal bone-standard box. The first step is to cut off the top and three sides as above.
The result looks like so:

Next, strips of white poster board are cut to size and glued to the inside of the open sides.

After all three sides are done, and the next step is to cut another piece of poster board to the interior width of the box. Leave this one long, as you want it to lie along the bottom and up the back without creasing. This is what gives you the 'seamless' background.
The two side 'windows' are then covered with white tissue paper. I've only used one piece, but I might add another or replace the tissue paper with something more robust like nylon fabric or the like.

Finally get some lights. You can light from the top, but I chose to light from the sides using these two 'accent' lights from Home Depot. They were about $18 each, and they use a 35w GU10 Halogen bulb.

Here is the setup with my good friends Calvin and Hobbes providing my light stands. I've placed another sheet of poster board over the top of the box, but I like leaving it unattached in case I need a little more space to load in a larger object.

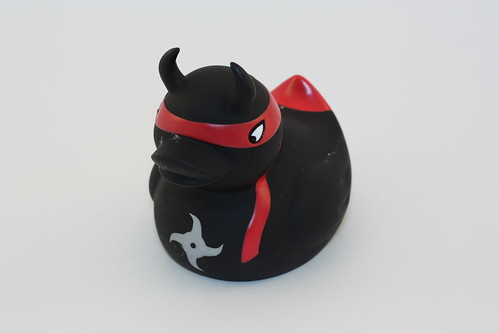
Here is a test shot. My friend, Ninja Duck!
All in all, I call this one a success. I'm not sold on the tissue paper sides since I already have a small tear, but for the moment it works!
No comments:
Post a Comment